
I got this idea from a Youtuber called LaurDIY who has lots of DIY videos! I just happened to come across her channel and subscribed straight away. Her DIY Wall Organizer is what inspired me to make my own organiser in the form of a Monthly Planner!
I tried it once, and then made another one for my mum for Mother’s Day ❤ (I will upload a blog about that too).
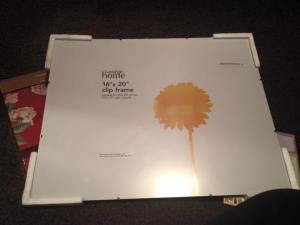
- First, buy a frame of some sort in the size you want. I bought a 16″ x 20″ Clip Frame from Asda.
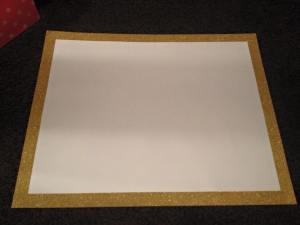
2. After removing the metal clips and plastic/glass from the top, use some washi tape to make a border on your paper (I used the original insert and just turned it over to the blank side). I used a Gold Glitter washi tape that I bought from Tesco.


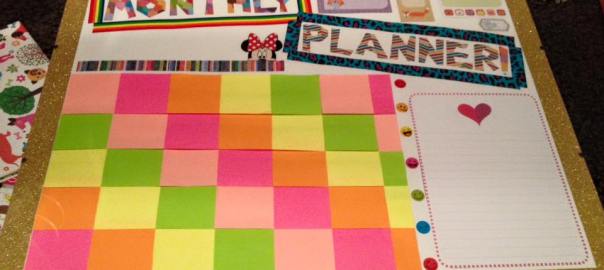
3. Decide on a title/heading for your planner/organiser. I chose ‘Monthly Planner’ for mine. Use scrapbook paper and cut out some lettering. I chose the font style Chlorinap which is a type of Super Mario Font. I found the alphabet, drew the letters on free-hand and then cut them out. I chose a different patterned paper for ‘Planner’, but same font and size.


4. Position your letters on your paper so you can make sure they all fit and once you’re completely happy with where they are. glue them down. I also left some room to make borders using washi tape/craft tape. You can see where I got my tapes from by clicking here: *Duck/Duckling & Washi Tapes*
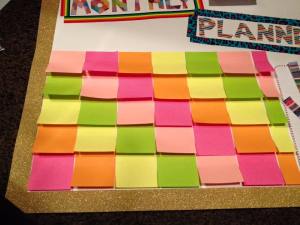
5. In LaurDIY’s video, she uses Paint Sample cards for the calendar section of her organiser, I used Post-it notes. I chose a colour order going down in the first column, for the second column I started with a different colour but same colour order. You need 7 x 5 so you have 35 all together. I made my Sunday column small because a) I ran out of room, and b) Sundays are days of rest! After you’re happy with the placement, stick them down.

6. On the right side of my planner, I decided to put on a sheet of lined paper to write shopping lists, extra info, To Do lists, etc…I also filled in any gaps using some funky Post-it notes. I also added a thin, rectilinear piece of scrapbook paper above my post-it notes as an underlining to write the current month on.
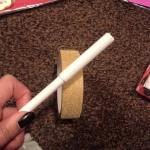
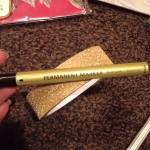
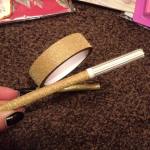
7. I had a boring whiteboard pen so I just decorated it using my gold glitter tape. I also added a bit of gold pen to the lid. This is blue-tacked on my planner! Make sure you pen is a whiteboard pen so it will rub off.


8. After you’re happy with how everything looks, and it’s all been glued down, attach the plastic/glass back over the top and there you go! 🙂

LOVE LAURDIY!!! And love this planner ❤ so cute!
LikeLiked by 1 person
She’s awesome!
Aww thank you 😊
LikeLiked by 1 person